
How to Set Up a Nano Aquarium: A Beginner’s Step-by-Step Guide
Your first nano aquarium setup is exciting — but a small tank is less forgiving than a big one. Less water means temperature and water chemistry swing faster, so getting it right from day one matters more than people expect.
This guide walks you through every step: choosing the right tank, the gear you actually need, cycling the water before any fish go in, and stocking it slowly so it stays healthy. No jargon dumps — just the order to do things in.
What Is a Nano Aquarium?
A nano aquarium is any small freshwater tank, usually between 3 and 20 liters (roughly 1–5 gallons). They’re popular because they fit on a desk, cost less to stock, and make a single beautiful “scape” the centerpiece instead of a wall of fish.
The trade-off: the smaller the water volume, the faster things change. A heater failure or overfeeding hits a 5-liter tank much harder than a 200-liter one. That’s not a reason to avoid nano tanks — it’s the reason to set them up carefully.
What You Need: Nano Tank Starter Checklist
Here’s the realistic shopping list for a planted nano tank. “Optional” items improve results but you can add them later.
| Item | Needed? | Why |
|---|---|---|
| Nano tank (5–20 L) | Essential | Your tank. Rimless low-iron glass looks best. |
| Gentle filter (sponge or small HOB) | Essential | Biological filtration. Gentle flow for small tanks. |
| Heater (small, 25–50 W) | Most setups | Stable temperature for tropical species. |
| Substrate (gravel or aqua soil) | Essential | Holds plants; aqua soil also feeds them. |
| Light (clip-on or small LED) | Essential if planted | Plants need light; fish-only can use less. |
| Dechlorinator (water conditioner) | Essential | Removes chlorine that harms fish & bacteria. |
| Liquid test kit (ammonia/nitrite/nitrate) | Essential | The only way to know the tank is safe. |
| Thermometer | Recommended | Confirm the heater is working. |
| Plants & hardscape (rocks/wood) | Recommended | Beauty + natural filtration + hiding spots. |
💡 Skip the cheap “starter kit” filters that blast water — strong flow stresses small fish. A simple sponge filter is cheap, gentle, and grows great bacteria.
Step-by-Step: Setting Up Your Nano Tank
Step 1 — Choose and place the tank
Put it on a flat, sturdy surface away from direct sunlight (sun causes algae and heat swings) and away from windows or vents. Once it’s full of water it’s heavy and you can’t move it — decide the spot first.
Step 2 — Rinse substrate and hardscape
Rinse gravel until the water runs clear. (If you use aqua soil, don’t rinse it — it’s designed to stay put.) Scrub rocks and wood with plain water, no soap, ever.
Step 3 — Add substrate, hardscape, then water
Layer in your substrate, arrange your rocks and wood, then fill slowly — pour onto a plate or your hand so you don’t dig craters in the substrate. Add dechlorinator as you fill.

Step 4 — Install and test equipment
Set up the filter and heater, then turn them on and let them run. Check the temperature is stable (most tropical nano fish like 24–26 °C / 75–79 °F). Don’t add fish yet.
Step 5 — Cycle the tank (the most-skipped step)
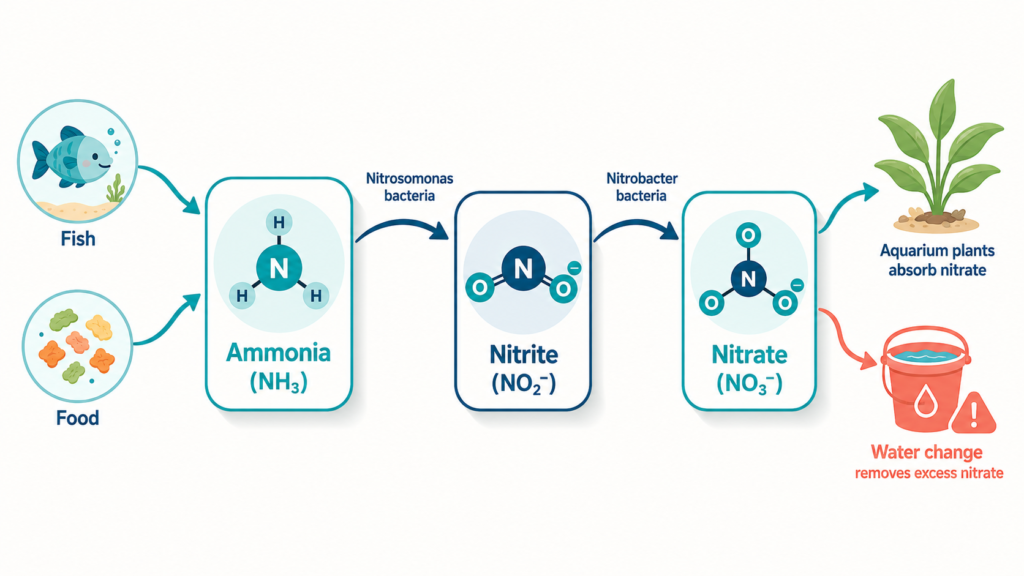
This is where beginners lose fish. A new tank has no beneficial bacteria to process the ammonia from fish waste. You need to grow that bacteria before adding livestock — a process called the nitrogen cycle, which typically takes 2–6 weeks.
You run the empty tank, add an ammonia source, and wait until your test kit reads 0 ammonia, 0 nitrite, and some nitrate. Only then is it safe for fish. For the full walkthrough, follow our step-by-step fishless cycling guide, then check exactly how long before you can add fish to a new tank.
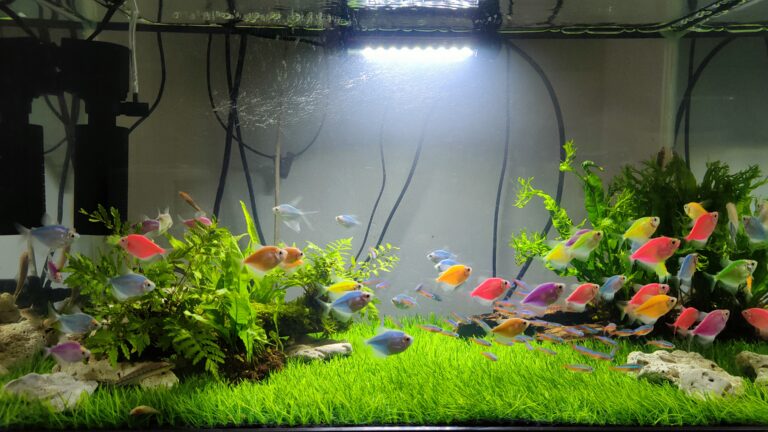
Step 6 — Add plants, then livestock — slowly
Add plants during or after cycling. Once cycled, introduce livestock a few at a time, not all at once — a sudden bioload can spike ammonia. Start with hardy species and wait a week or two between additions.
Which Nano Tank Size Should a Beginner Pick?
Bigger is genuinely easier for a beginner, because more water = more stable. Here’s an honest comparison:
| Tank size | Stability | Good for | Watch out for |
|---|---|---|---|
| ~3.5 L / 1 gal | Hard | Single shrimp colony, betta (debated) | Swings fast; expert-only |
| ~5 L / 1.3 gal | Tricky | Shrimp, 1 betta | Easy to overstock |
| ~10 L / 2.5 gal | Manageable | Shrimp + small school | Still needs discipline |
| ~19 L / 5 gal | Easiest nano | Small fish school + shrimp | Best beginner balance |
If you’re unsure, start at ~19 L (5 gallons). It’s still a “nano,” but the extra water forgives early mistakes.
Common Beginner Mistakes to Avoid
- Adding fish before cycling — the #1 killer. Be patient.
- Overstocking — small tank, few fish. Resist “just one more.”
- Overfeeding — feed a tiny pinch; uneaten food rots and spikes ammonia.
- Strong filter flow — gentle is better for nano species.
For the full list and how to dodge each one, see our guide to the 9 most common beginner aquarium mistakes.
Keeping It Healthy: The Basics
Once running, a nano tank needs a simple weekly routine: a small water change (10–25%) with dechlorinated water, a quick glass wipe, and a test-kit check. That’s most of it. Here’s the whole rhythm at a glance:
| How often | Task | Why |
|---|---|---|
| Daily | Feed a tiny pinch; glance at the fish | Catch problems early; avoid overfeeding |
| Weekly | 10–25% water change + glass wipe | Removes nitrate and keeps water stable |
| Weekly | Test ammonia, nitrite, nitrate | Confirms the tank is still healthy |
| Monthly | Rinse filter media in old tank water | Clears gunk without killing bacteria |
| As needed | Trim plants, top up with dechlorinated water | Keeps the scape and water level right |
Stick to that and a nano tank is genuinely low-effort — about ten minutes a week once it’s established.
Keep Exploring NanoTank Lab
Ready for the next step? These companion guides pick up right where this one leaves off:
- Choosing your tank: Nano tank size guide — 3 vs 5 vs 10 gallon
- Buying the gear: Nano aquarium starter kit checklist
- The crucial wait: How to cycle a new aquarium (fishless)
- Avoiding rookie errors: 9 common beginner aquarium mistakes
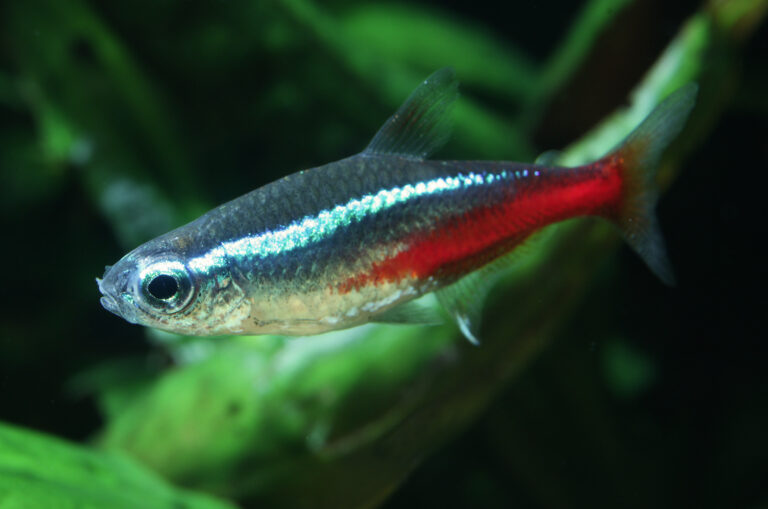
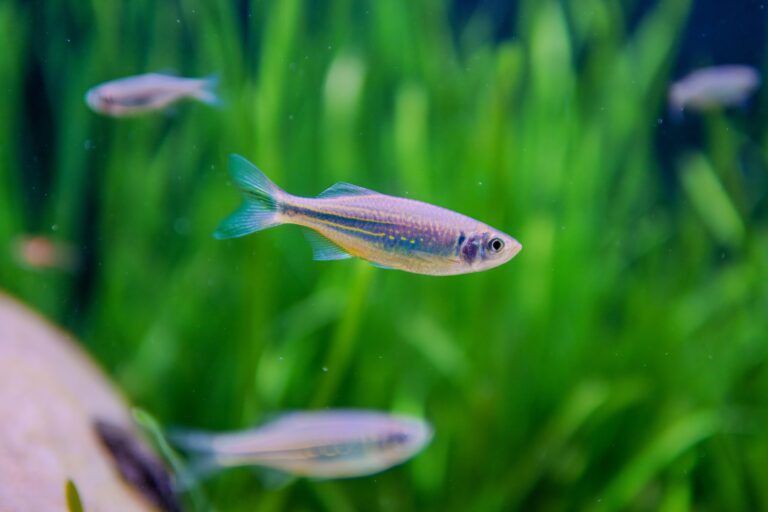
- Picking livestock: Best nano tank fish for beginners
Frequently Asked Questions
How long does it take to set up a nano aquarium?
Physical setup takes an afternoon, but cycling the tank takes 2–6 weeks before fish can go in. Don’t rush this part.
Can I put fish in the same day?
No. Without a completed nitrogen cycle, ammonia will build up and harm your fish. Wait until your test kit reads 0 ammonia and 0 nitrite.
What’s the easiest nano tank size for a beginner?
Around 5 gallons (19 L). It’s small enough to count as nano but holds enough water to stay stable while you learn.
Do nano tanks need a filter and heater?
Almost always yes — a gentle filter for beneficial bacteria, and a heater if you keep tropical species. Some coldwater shrimp setups can skip the heater.
What should I put in a nano tank first — fish or plants?
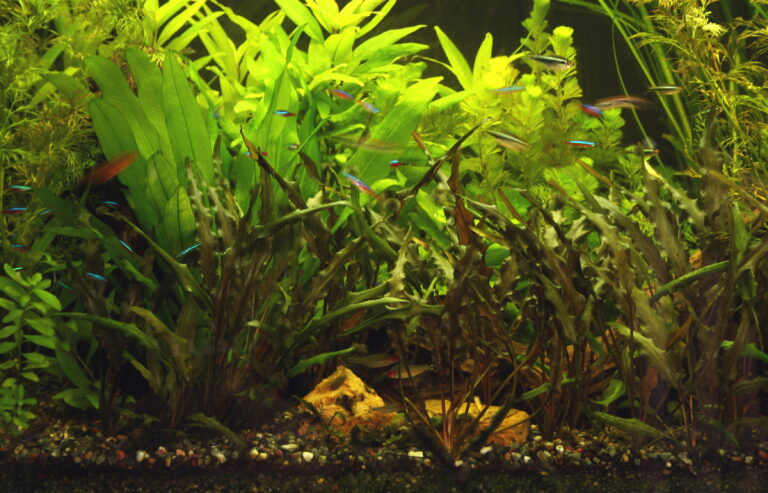
Plants first, always. Add live plants during or right after cycling so they can establish roots and start absorbing nutrients before any livestock arrives. Fish go in last, a few at a time, only once the tank reads 0 ammonia and 0 nitrite. Plants also give your first fish cover, which lowers their stress in a new home.